How to Prepare Your Garage for a New Door Installation
Installing a new garage door can dramatically enhance your home’s curb appeal, security, and energy efficiency. But before your new door arrives, it’s crucial to properly prepare your garage to ensure a smooth and successful installation. Whether you’re handling the install yourself or hiring professionals, a bit of preparation can save you time, avoid surprises, and help the process go off without a hitch.
Here’s a step-by-step guide to help you get your garage ready for a new door installation.
1. Clear the Area
Start by removing any items from your garage that might get in the way of the installation crew or interfere with the door’s movement. This includes:
- Vehicles: Park them outside to allow room for equipment and easy access.
- Tools and Storage Items: Clear shelves, bikes, lawn equipment, or anything close to the garage door or along the tracks.
- Wall-Mounted Objects: If you have storage racks or hooks near the door frame, take them down or move them out of the way.
Make sure there’s at least 3–4 feet of clearance around the garage door and opener area for the installers to work safely and efficiently.
2. Inspect the Garage Structure
Before the new door is installed, it’s a good idea to check the overall condition of your garage structure—especially the frame where the new door will be mounted. Look for:
- Rotted Wood or Termite Damage: If the door frame has any damage, it may need to be replaced or reinforced before installation.
- Cracked Concrete or Uneven Flooring: The door’s bottom seal needs a level surface to close properly. If your garage floor is significantly uneven, it might need some repair.
- Ceiling Height and Clearance: Measure from the garage floor to the ceiling to ensure there’s enough vertical space for the type of door and opener you’re installing. Most standard doors need around 12 inches of headroom, but some models require more.
If you spot any major issues, it’s best to address them before scheduling your installation.
3. Take Measurements
Even if the installer will take final measurements, it’s helpful to know your garage’s dimensions to choose the right size door. You should measure:
- Width and Height of the Opening: This is the size of the actual garage door.
- Side Room: The distance from each side of the opening to the wall. You need at least 3.5–5 inches on each side for the tracks.
- Headroom: From the top of the door opening to the ceiling.
- Backroom: From the garage door to the back wall. You’ll need enough space to accommodate the full height of the open door.
These measurements also help in determining the type of opener that works best for your space.
4. Disconnect and Remove the Old Door (if applicable)
If you’re replacing an existing garage door, you or the installation team will need to remove the old one. If you’re doing it yourself, be cautious—garage doors are heavy and the torsion springs are under high tension. The process generally involves:
- Disconnecting the garage door opener.
- Unwinding the torsion springs (extremely dangerous if not done correctly).
- Removing the panels, one at a time, starting from the top.
- Taking down the old tracks and hardware.
Unless you’re confident in handling it safely, this is a task best left to professionals.
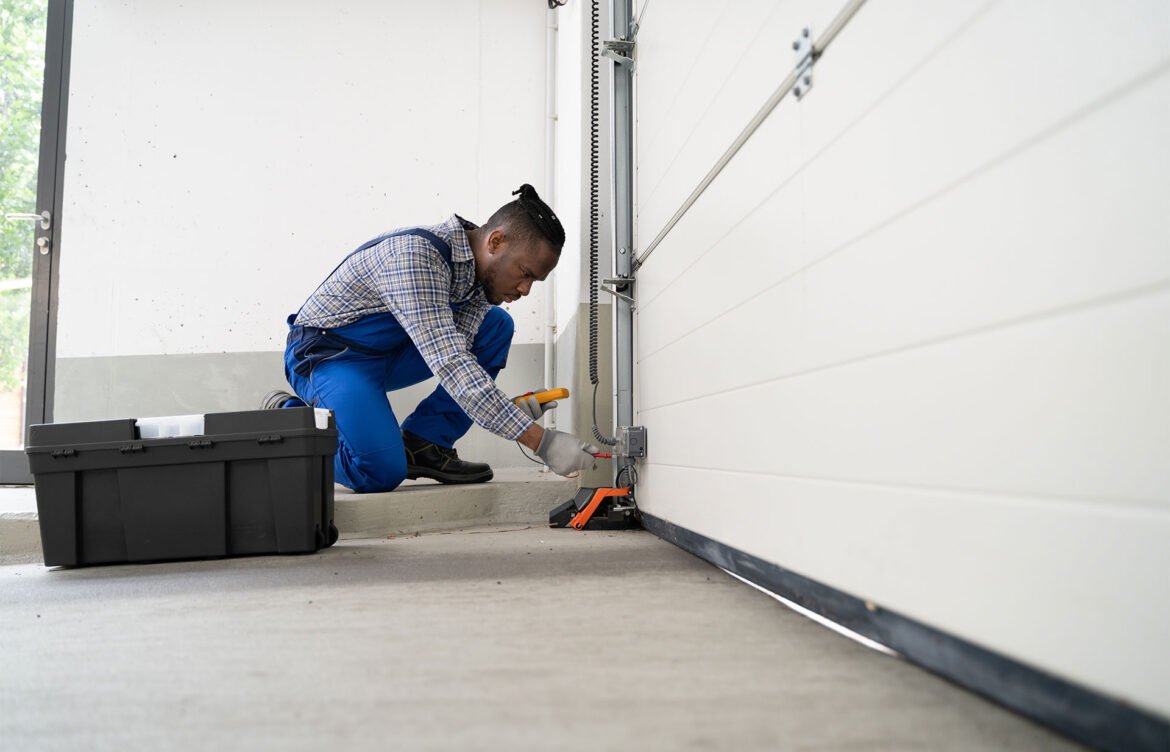
5. Check Your Garage Door Opener
If you’re keeping your existing opener, make sure it’s compatible with the new door. If it’s old or noisy, this might be a good time to upgrade to a quieter, more energy-efficient model. Belt-driven or wall-mounted openers are quieter than older chain-driven types, and many new models include smart features like smartphone control and battery backup.
If you are installing a new opener, ensure there’s an electrical outlet near the ceiling at the center of the garage door. If not, you may need to have an electrician install one.
6. Secure Pets and Children
Garage door installation involves heavy equipment, power tools, and multiple workers moving in and out of your home. Keep pets and children away from the work area to avoid accidents and distractions during the installation.
7. Be Available for the Installers
If you’re hiring professionals, try to be present during the installation—or at least available by phone. They may need your input or approval on certain aspects, like opener placement or final adjustments. Also, you’ll likely need to inspect the finished work and sign off on it once the job is done.
8. Clean the Area After Installation
Once the new door is installed, sweep up any debris, dispose of old parts, and put your belongings back in place. Some installers will remove and haul away the old door for an extra fee—be sure to confirm this when booking.
Conclusion
A little preparation goes a long way when it comes to garage door installation. By clearing the area, inspecting the space, and coordinating with installers, you can help ensure your new garage door is installed efficiently and without complications. Once the job is done, you’ll not only enjoy a smoother, quieter door, but also better security and an upgrade to your home’s appearance.
Whether it’s your first time or just your first new door in a while, following these steps will make the process a whole lot easier.