How to Create a Show Stopping 50th Birthday Balloon Wall
Turning 50 is a milestone worth celebrating in style. And what better way to create a memorable and visually stunning backdrop for this special occasion than with a show stopping Birthday balloon wall? A balloon wall adds a touch of elegance, whimsy, and celebratory flair to any party. It serves as a perfect photo opportunity, instantly elevating the atmosphere and creating lasting memories.
This comprehensive guide will walk you through the entire process, from planning and gathering supplies to constructing and customizing your own breathtaking 50th birthday balloon wall. Whether you’re a seasoned DIY enthusiast or a complete beginner, we’ll provide clear, easy-to-follow instructions and plenty of tips to ensure your balloon wall is a roaring success.
Planning and Preparation: Laying the Foundation for Success
Before diving into the fun part of inflating balloons, careful planning is essential for a smooth and stress-free construction process. Here’s what you need to consider:
- Theme and Color Palette: The first step is to define the overall theme and color scheme of the party. For a 50th birthday, you might consider sophisticated metallic tones (gold, silver, rose gold), classic black and white, vibrant jewel tones, or a playful mix of the birthday person’s favorite colors. Think about the personality of the birthday honoree and choose colors that reflect their style. Consider adding accent colors that complement the main palette.
- Balloon Wall Size and Shape: Determine the dimensions of your balloon wall based on the space available and the desired impact. Consider its placement – will it be a backdrop for photos, a focal point behind the cake table, or a general decorative element? Measure the wall or area where you intend to install the Birthday balloon wall. Standard sizes range from 6ft x 6ft to 8ft x 8ft, but you can customize the size to fit your specific needs. You can create a rectangular, square, arched, or even freeform shape. An arched balloon wall can add a touch of elegance and sophistication.
- Balloon Types and Sizes: A Birthday balloon wall isn’t just about one type of balloon. Mix different sizes and textures to add depth and visual interest.
- Standard Latex Balloons: These are your workhorses, available in a wide range of colors and sizes (typically 5″, 10″, and 12″).
- Metallic Balloons: Add a touch of glamour with metallic balloons in gold, silver, rose gold, or other shimmering hues.
- Confetti Balloons: Clear balloons filled with confetti create a festive and celebratory effect.
- Giant Balloons: Larger balloons (18″ or 36″) can serve as focal points and add a dramatic flair.
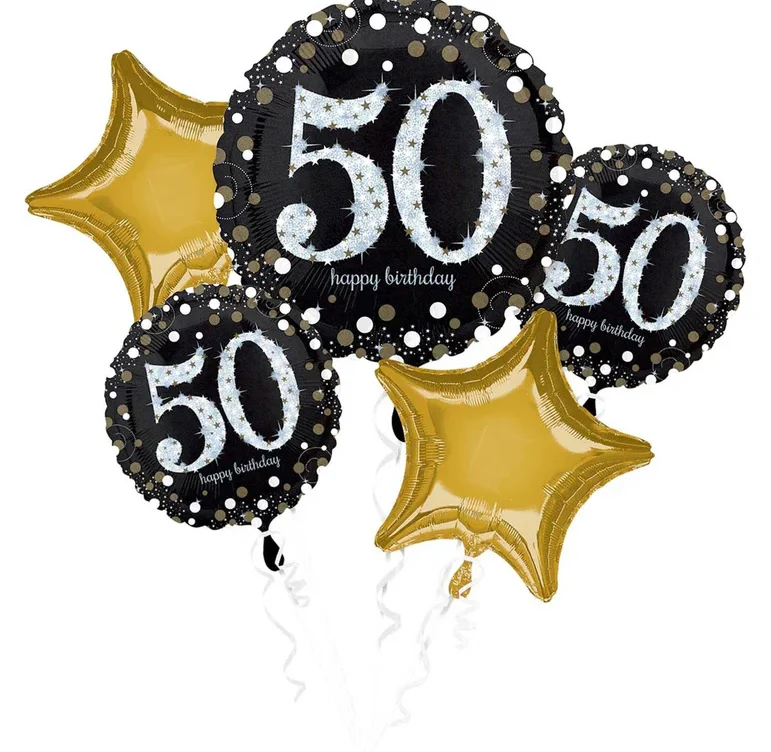
- Foil Balloons: Shaped foil balloons (numbers, stars, hearts) can be incorporated to personalize the wall with the birthday person’s age or initials.
- Long Balloons (Modeling Balloons): Can be used for intertwining around the Birthday balloon wall or for creating simple balloon sculptures.
- Design Layout: Sketch out a rough design of your Birthday balloon wall on paper. Experiment with different arrangements of colors, sizes, and balloon types. Consider creating a pattern, gradient, or organic look. You can use online tools or apps to create a digital mockup of your design. Think about incorporating focal points or key elements, such as the number “50”.
- Budget: Determine your budget for the Birthday balloon wall. The cost will depend on the number of balloons, the types of balloons, and the accessories you choose. Shop around for the best deals on balloons and supplies. Consider purchasing balloons in bulk to save money.
Gathering Your Supplies: Equipping Yourself for Success
Once you’ve planned your design, it’s time to gather all the necessary supplies. Here’s a comprehensive checklist:
- Balloons: Purchase a sufficient quantity of balloons in your chosen colors and sizes. It’s always a good idea to buy extra balloons in case some pop or are defective. Calculate the number of balloons needed based on the size of your wall and the desired density. A densely packed wall will require more balloons.
- Balloon Pump: An electric balloon pump is essential for inflating a large number of balloons quickly and efficiently. Hand pumps are an option but will be considerably more time-consuming and tiring. Consider renting or borrowing an electric balloon pump if you don’t want to purchase one.
- Balloon Arch Tape/Strip: This specialized tape has evenly spaced holes for inserting the balloon knots, creating a structured and uniform arch or wall.
- Glue Dots or Double-Sided Tape: These are used to attach smaller balloons to fill in gaps and create a fuller, more organic look.
- Fishing Line or String: This is used to create clusters of balloons or to hang balloons from the ceiling or other structures.
- Scissors: For trimming balloon tails and cutting tape or string.
- Measuring Tape: For accurately measuring the wall and spacing the balloons.
- Command Hooks or Removable Mounting Strips: For attaching the balloon wall to the wall without damaging the paint.
- Optional Decorations: Consider adding other decorative elements to enhance your balloon wall, such as:
- Floral Accents: Fresh or artificial flowers can add a touch of elegance and sophistication.
- Greenery: Faux foliage, such as eucalyptus or ivy, can create a natural and organic feel.
- Ribbon: Ribbon can be used to tie balloon clusters together or to add decorative accents.
- Lights: String lights or fairy lights can add a warm and inviting glow to the balloon wall.
- Custom Signage: A personalized sign with the birthday person’s name or a celebratory message can add a special touch.
Constructing Your Balloon Wall: Bringing Your Vision to Life
Now comes the exciting part – assembling your magnificent 50th birthday balloon wall! Follow these step-by-step instructions:
- Inflate the Balloons: Using your electric balloon pump, inflate the balloons to various sizes. Don’t over-inflate the balloons, as this can cause them to pop. Aim for a mix of sizes to add depth and texture to your wall. Inflate a small batch of balloons at a time to prevent them from deflating before you can attach them.
- Attach Balloons to the Arch Tape: Starting at one end of the balloon arch tape, insert the knot of each balloon into the pre-cut holes. Alternate colors and sizes according to your design. Push the balloon knots firmly into the holes to secure them. If the holes are too small, you can gently widen them with a small object.
- Create Balloon Clusters (Optional): For a denser and more organic look, create clusters of 2-3 balloons by tying their knots together tightly with fishing line or string. These clusters can then be attached to the balloon arch tape or directly to the wall.
- Attach the Balloon Arch Tape to the Wall: Using Command hooks or removable mounting strips, attach the balloon arch tape to the wall, following your desired shape and size. Make sure the hooks or strips are strong enough to support the weight of the Birthday balloon wall. Space the hooks or strips evenly along the tape to ensure it is securely attached.
- Fill in Gaps with Smaller Balloons: Using glue dots or double-sided tape, attach smaller balloons to fill in any gaps and create a fuller, more uniform look. Pay attention to the color balance and distribution of sizes. Overlap the balloons slightly to create a seamless effect.
Tips and Tricks for a Polished Finish
- Use a Balloon Sizer: A balloon sizer is a simple tool that helps you inflate balloons to consistent sizes, ensuring a uniform and professional look. This is especially helpful when inflating multiple balloons of the same size.
- Pre-Inflate Balloons: Inflate some of the balloons a day or two before the party. This will save you time on the day of the event and allow you to identify any defective balloons. Store the inflated balloons in a cool, dark place away from direct sunlight.
- Work in a Clean and Organized Space: A clean and organized workspace will make the construction process much smoother and more efficient. Keep your supplies within easy reach and clear away any clutter.
- Enlist Help: Building a Birthday balloon wall can be a time-consuming process. Enlist the help of friends or family members to speed up the process and make it more enjoyable.
Customization Ideas for a Truly Unique Balloon Wall
- Add a Photo Booth Frame: Create a frame around the Birthday balloon wall to create a designated photo booth area. Provide props such as hats, glasses, and signs for guests to use in their photos.
- Incorporate the Birthday Person’s Hobbies: Add elements that reflect the birthday person’s hobbies or interests, such as sports equipment, musical instruments, or travel-themed decorations.
- Create a Gradient Effect: Arrange the balloons in a gradient of colors, starting with the lightest shade at the top and gradually transitioning to the darkest shade at the bottom. This creates a visually stunning and sophisticated effect.
By following these steps and incorporating your own creative flair, you can create a showstopping 50th birthday balloon wall that will be the talk of the party. It’s a fantastic way to honor the birthday honoree and create a truly unforgettable celebration! Remember to have fun and enjoy the process of creating this special decoration. Happy decorating.